
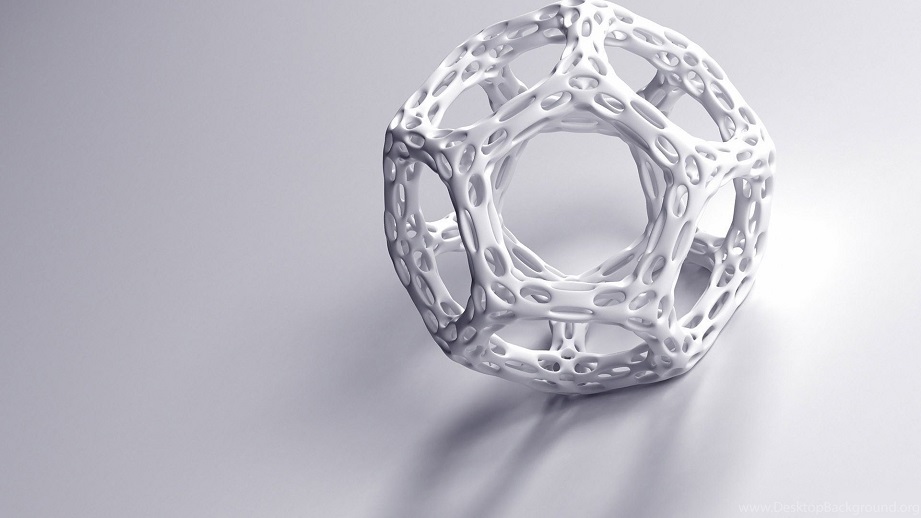
How to photograph white objects on a white background?
Normally white objects are a little bit difficult to take the photos. If the background is also the same white in the color, then the white object photography is not so easy. The white on white photography is the challenging one.
If you plan and set the right lighting, editing tweaks and camera setting then it will be easy to capture the white object. You can easily take the white object photography in your home studio itself. Just follow the below give guidance and practice.
Important things to be followed while taking white object photography
- Location setup
- Background
- Lightening
- Camera settings
- Post processing
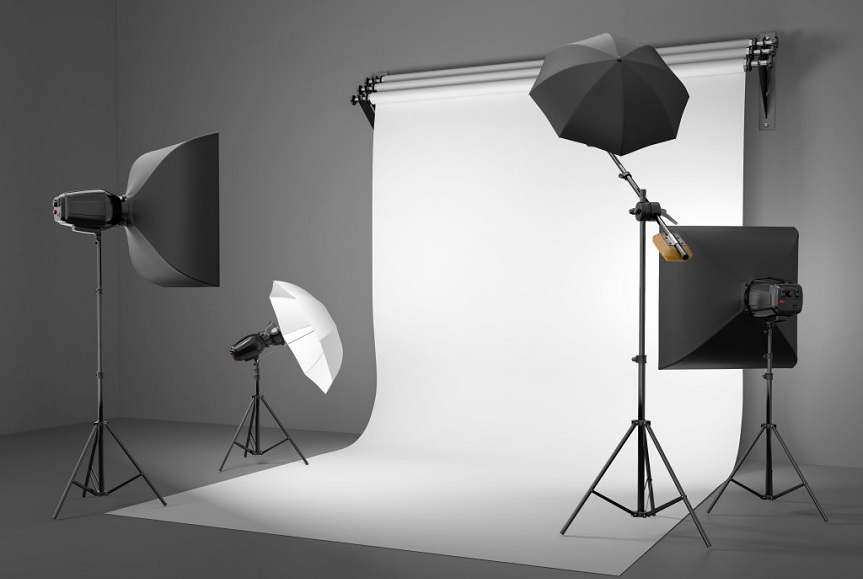
Location setup
Setup is the most important thing for the whole photography process. First, you have a large white surface on your background. To make the large white background, you can use a white foam board, reflector or large white colored paper. You can also use the large white poster board that can be bent like “C” shape. This helps to avoid the corner shadows.
Another notable thing in this setup is lightening. You can use artificial light, natural light or both of them. You can use artificial clamp light with daylight balanced bulbs which helps to not disrupt the object.
Background
Studio photography is a huge part of what I do. It’s not just about the setup and lighting though, it’s also about the background. A white background is a great option for headshot photography, simple portraits, stock photos, and product photography. Good home projector screens can provide the perfect backdrop for any photo. You can use these screens in any room – even outdoors!
Lightening
Lightning for the white on white product photography is a challenging task. You can easily face this challenge by using some tricks. The main trick is to focus more on the background than the white object and makes the object more towards the gray side. This gives the separation between the object and background so that you can easily differentiate the objects and background.
You have to check the shots after taking the picture whether the shadows are enough on the objects. The harsh shadows on the object help to separate the object from the background. If you use natural lightning, then the reflector is the best companion. The white and black reflectors will help to make smooth edges and also help to light the front of the object.

Camera Settings
If you want to take pictures of products with white background, you have to take pictures on the manual mode. Manual mode shooting will help to take the exact picture. You can fix the ISO number within 100 to 6400 based on your needs. F. stop is the diameter of the light opening into the camera. Normally the higher range of f/number makes a small opening and vice versa, so you can use f/numbers based on the distance of the object.
Post processing
The final step of photography is Photoshop. You can remove the unwanted shadows and imperfections. While taking white object photography, the shadows are the major issues. You can easily remove these shadows using burn and dodge tools in Photoshop. Then you can lighten up the background which enhances the object clearly.
Follow these tricks to photograph white objects easily without having any difficulties. Take white object photos perfectly and prove your photographic style.